


Crafting Blooming Beauties: A Guide to Making Tissue Paper Flowers
Discover the endless possibilities of tissue paper crafts, particularly tissue paper flowers. Whether you're planning to adorn a party or wedding venue or seeking inspiration for delightful crafts, these cost-effective creations are a must-try. With their stunning appearance and effortless construction, tissue paper flowers are an ideal choice. Dive into this user-friendly tutorial and learn how to effortlessly craft exquisite floral decorations.
What You Will Need
Scissors
Lots of Tissue Paper
Florist Wires
Florist Tape
Glue Stick
Pencil
Thread
Get Inspired by Whistlefish
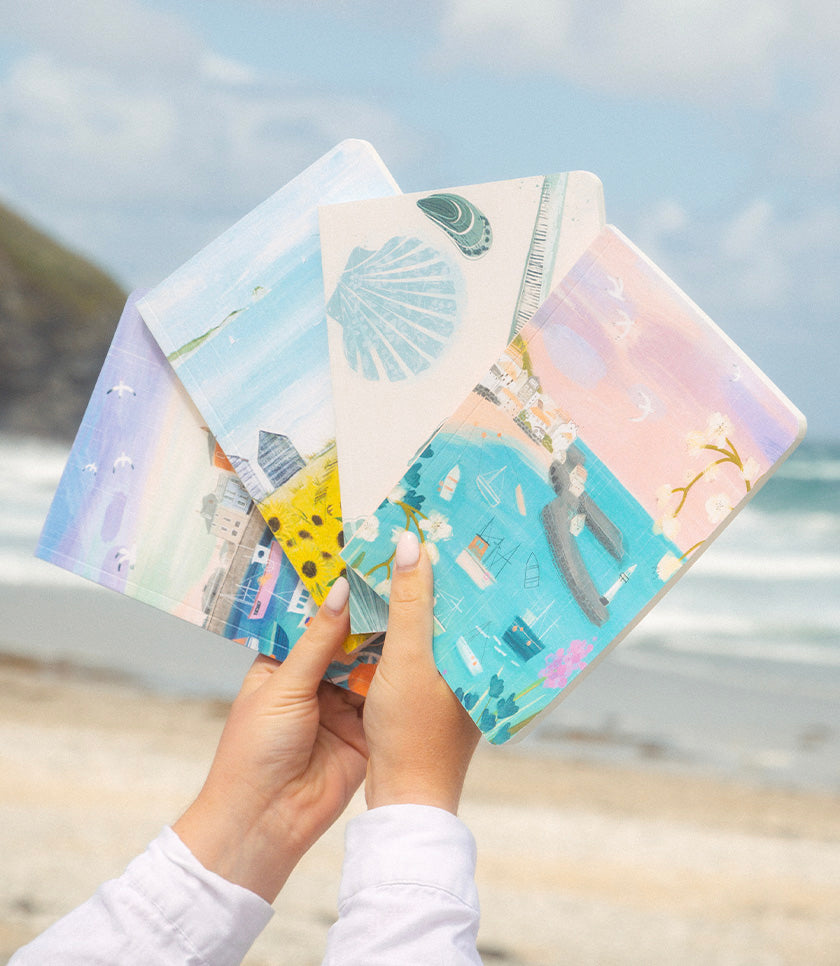
Whistlefish Workshop presents a step-by-step guide to crafting stunning tissue paper peonies, drawing inspiration from the captivating NEW Peony On Your Wedding Day Card.

SHOP PEONY ON YOUR WEDDING DAY CARD (£2.00) >
How to Make Tissue Paper Flowers
Step 1: Cut Out Your Template
Cut out the Whistlefish Workshop template of the size of flower you want to make.
Step 2: Select and Prepare Your Tissue Paper
Select the colours of tissue paper you want your flowers to be. (We used 12 sheets of each colour for our tissue paper peonies.) Measure the length of the tissue paper to match the template.

Stack the tissue paper and cut them to size.
Tip: If using different colours in your flower, put the colour you'd like on the inside on the top of the stack.
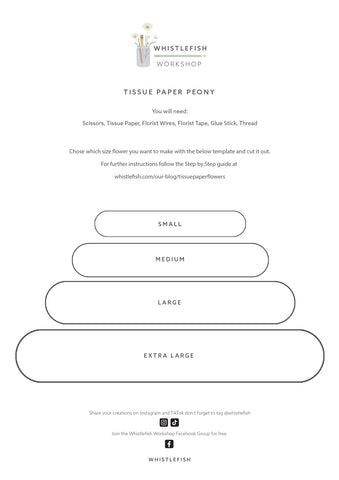
Download Tissue Paper Peonies Template Here >
Step 3: Concertina Fold the Tissue Paper
Using the template as a guide for the width of your first fold, concertina your tissue paper until you run out of length and trim the excess tissue paper that isn't long enough to fold.

Step 4: Shape the Petals
Use the template again to draw the rounded edges onto the tissue paper and cut again.

Download the template with 4 different sizes here for FREE
Step 5: Tie and Fan Out the Flower
Keep your tissue paper folded into a single stack and get your thread and tie your stack down tightly. Tie it around multiple times to make it strong.

Now you can loosen up the tissue paper by bending it back and forth lengthways. Your tissue paper can now be spread out into a circle and you can almost see the flower shape begin to take form.

Step 6: Fluff and Separate the Petals
Holding the tissue paper fanned out in its flower form, begin to gently separate the layers of tissue paper, starting with the top layers, pulling them forward and working your way evenly around then down through the layers.


Step 7: Make and Attach the Stem
Now you have a flower head you can make the stem. Get your floral wire and thread it through the thread in the back of the flower, use pliers to bend the wire downward.

Use floral tape to hide the wire and secure the flower head to the wire.
Optional: Add a Leaf
Cut out a leaf shape with green tissue paper, wrap it around the stem and secure it further with floral tape.

Display and Gift Your Flowers
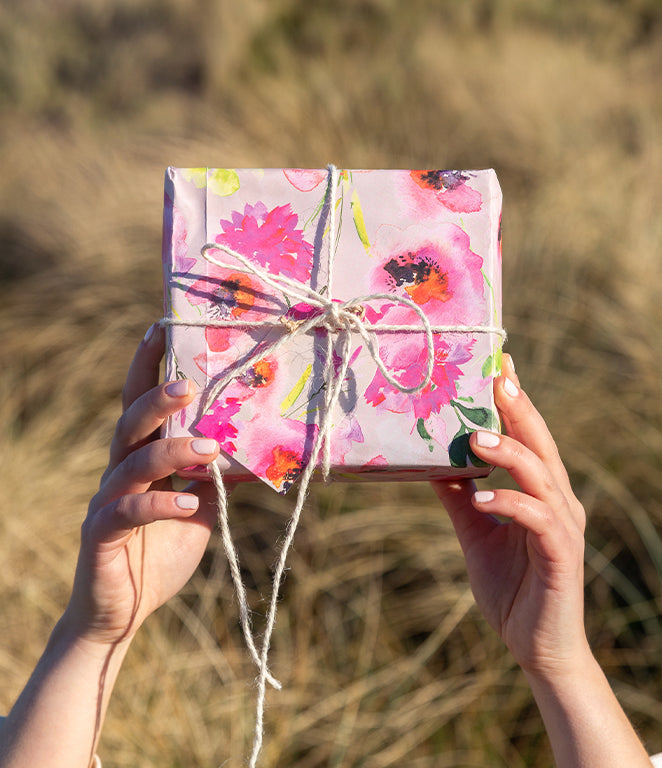
Your tissue paper peonies are now ready to display as beautiful decorations. You can even give them as gifts with a lovely greeting card or present!


Whistlefsh Journal
All blogs are created by our wonderful in-house team.
Our Offers
Discover