


Hand Painted Baubles: How to Paint Your Own Christmas Decorations
There is something quietly joyful about turning a plain bauble into something unique. Painting your own decorations brings a moment of calm to the rush of December, filling an evening with soft light, gentle colour and a touch of creativity. Each brushstroke feels personal, each tiny mark part of your story. Whether you prefer muted winter tones or cheerful bursts of festive colour, this gentle guide will help you create hand painted baubles that feel as peaceful as they are beautiful.

Before you begin, cover your table with newspaper or an old cloth, and gather a few essentials. Plain baubles, a small paintbrush, masking tape, a pencil, a few paints and a cup of tea to keep you company.
step 1: prepare the surface
Start by giving each bauble a gentle clean. Wipe the surface with a soft, slightly damp cloth to remove dust or fingerprints. This helps your paint glide on smoothly.

Once dry, apply a coat of white acrylic paint as a primer. This gives you a clean, bright base so your colours appear even and vibrant. Think of it as laying down a fresh page before you begin drawing. Let the primer dry completely before moving on. Patience here means a neater finish later.
step 2: paint the bauble

Now the creative part begins. Choose a design that feels right for you, whether that is neat and classic or loose and playful.

for intricate designs
If you would like to add fine details, lightly sketch your idea with a pencil before painting. Delicate snowflakes, stars or tiny leaves work beautifully. Use a fine tipped brush and steady strokes, turning the bauble gently as you go.
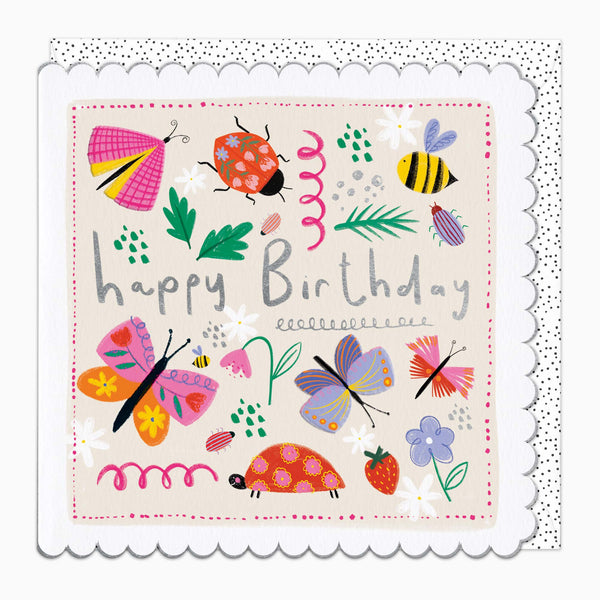
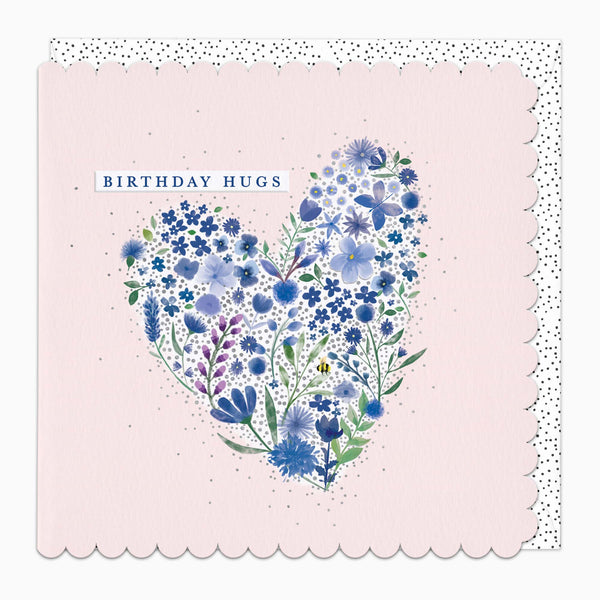
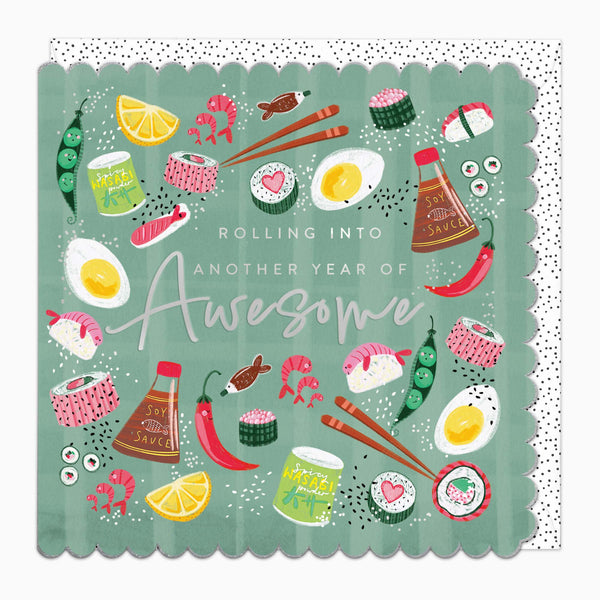
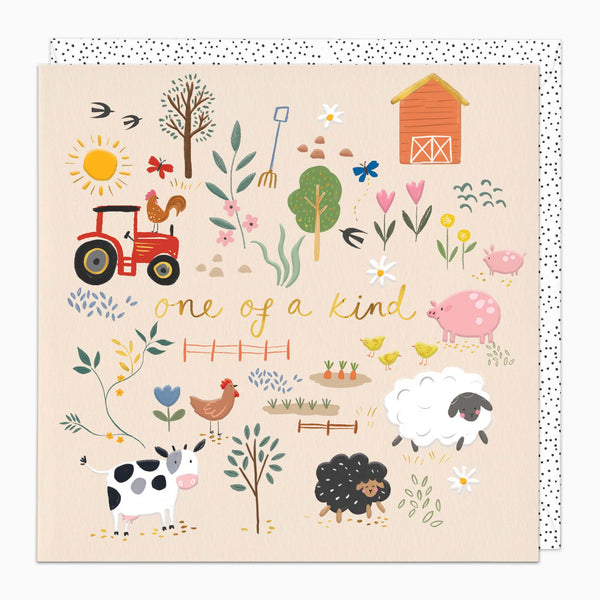
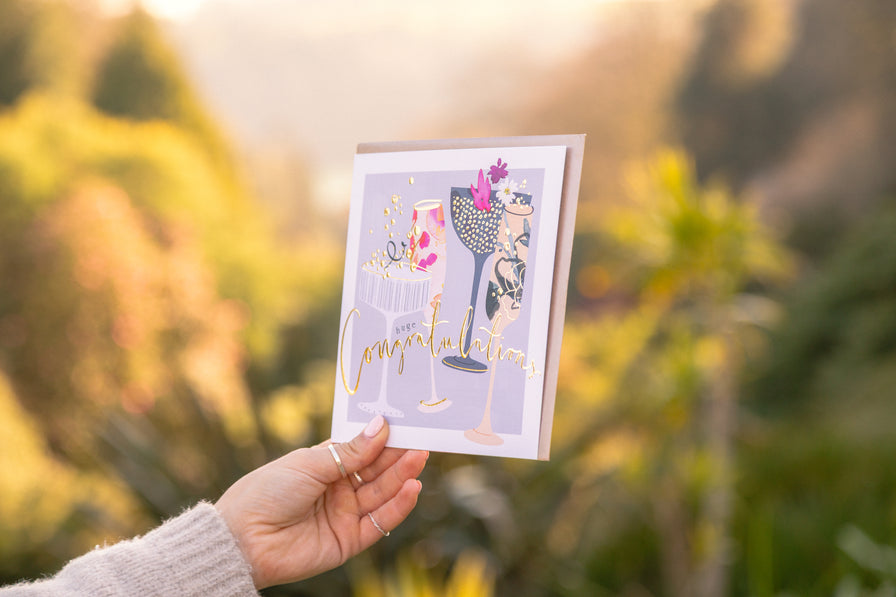
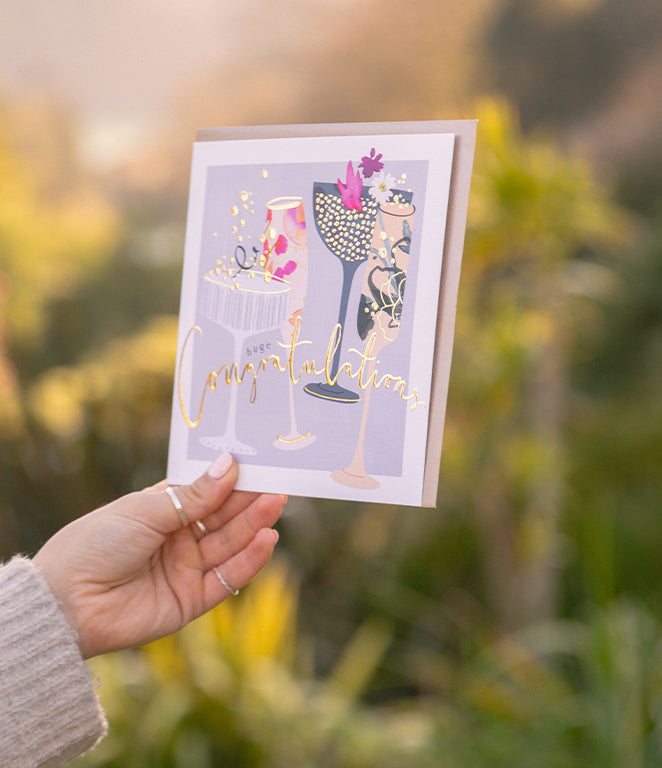
We used our Christmas Cards for inspiration
step 3: add finishing touches

Once your main design has dried, you can add a few subtle highlights. A fine line of metallic paint, a scattering of white dots for snow, or a tiny glimmer of gold on the edge of a stripe can all lift your design. The trick is to keep it simple, just enough to catch the eye without overpowering your original pattern.
Hold the bauble at arm’s length, turn it slowly, and see how it catches the light. Often, the most charming pieces are the ones that still feel handmade.
step 4: let it dry and get ready to hang

Allow your baubles to dry completely. Acrylic paint might feel dry after a short time, but giving it a few extra hours helps the colour cure and last from year to year. Rest them gently in an egg box or hang them on a mug tree while they dry.
When ready, thread a length of ribbon or twine through the top. Natural jute, satin or soft velvet ribbon each bring a different feel. Then hang them on your tree or display them in a bowl so you can enjoy their soft sparkle through the season.
step 5: enjoy the moment
Painting baubles is not about perfection. It is about slowing down, creating with care and finding quiet moments in a busy time. As the evenings draw in, it can be a simple way to unwind and add a touch of your own personality to Christmas.

If you choose paints that are water based and decorations you can reuse year after year, it is also a wonderfully eco friendly way to decorate. Each bauble becomes a keepsake, carrying both creativity and kindness in equal measure.

Your hand painted baubles in a Santa Christmas Gift tin could be the perfect gift!
So, gather your brushes, pour that tea, and make a little time for calm this Christmas.
Whistlefish Journal
All blogs are created by our wonderful in-house team.

Christmas 2026
Explore